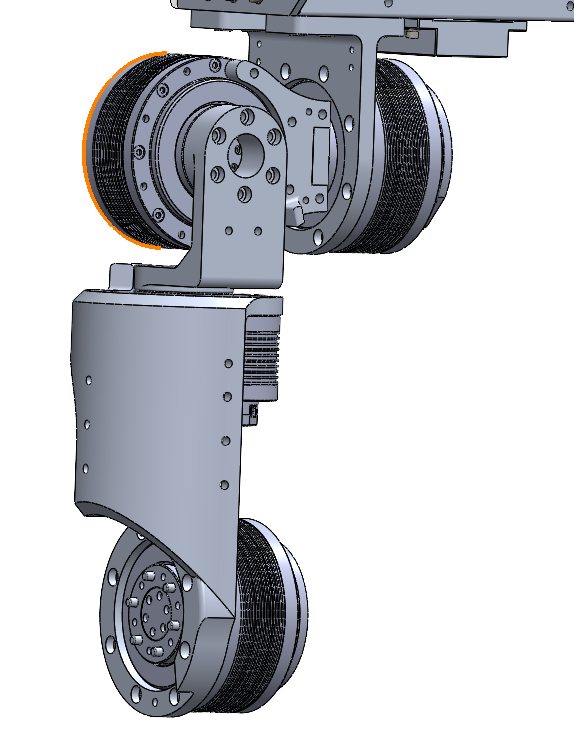
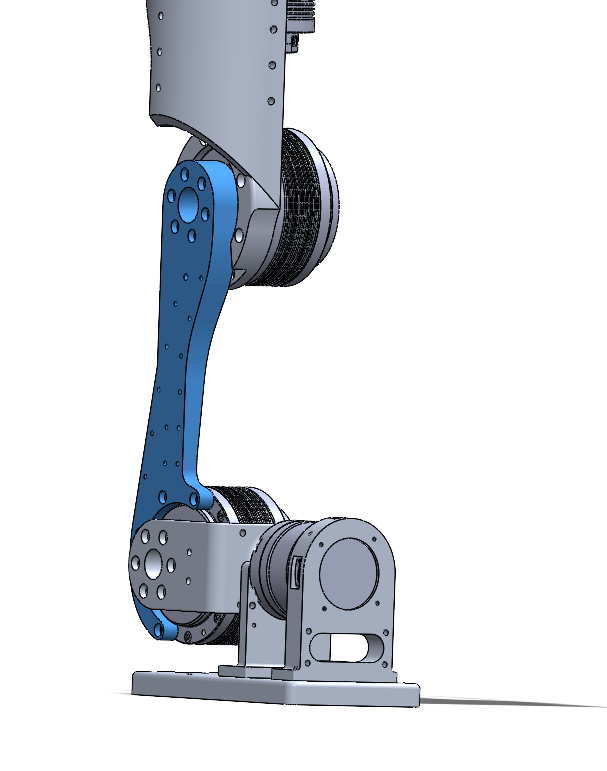
Assembly Sequence
This section introduces the robot assembly sequence.
Notes
First assemble the robot body together with all motors and the IMU mounted on it. After that, the remaining parts can be installed one serial stage at a time.
- Make sure the IMU is installed.
- Pay attention to the assembly order. Some steps can be swapped, but some cannot. It is recommended to follow the order given in this document.
- Pay attention to the bolt specifications used, including both diameter and length.
- Positioning pins must be installed for the joint modules.
Chest Assembly
Assemble the two side plates and the damping bracket.
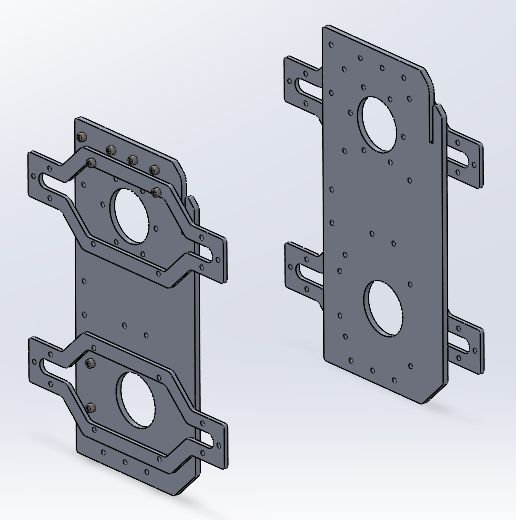
Assemble the four plates in the middle of the chest.
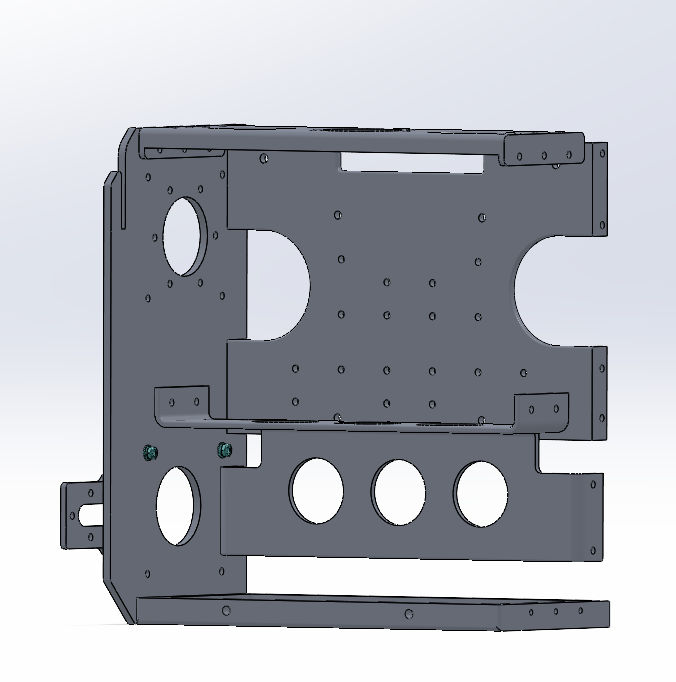
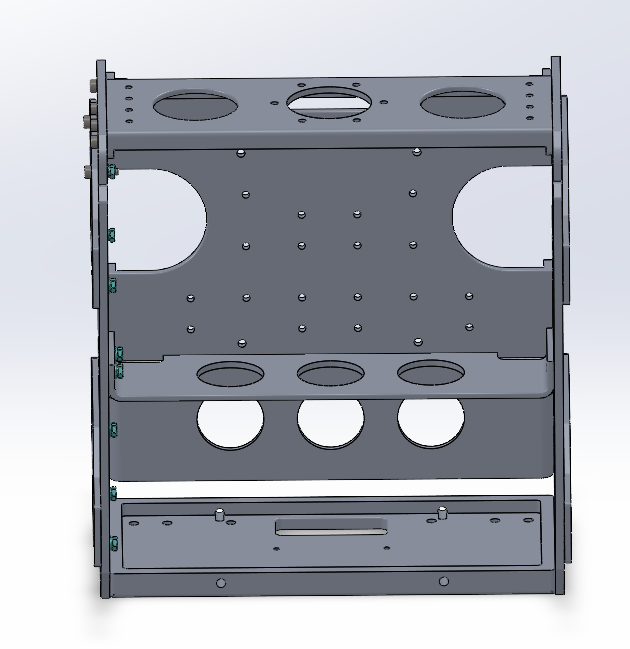
Install the IMU and AGX. The AGX is not shown directly in the picture; refer to the four standoffs.
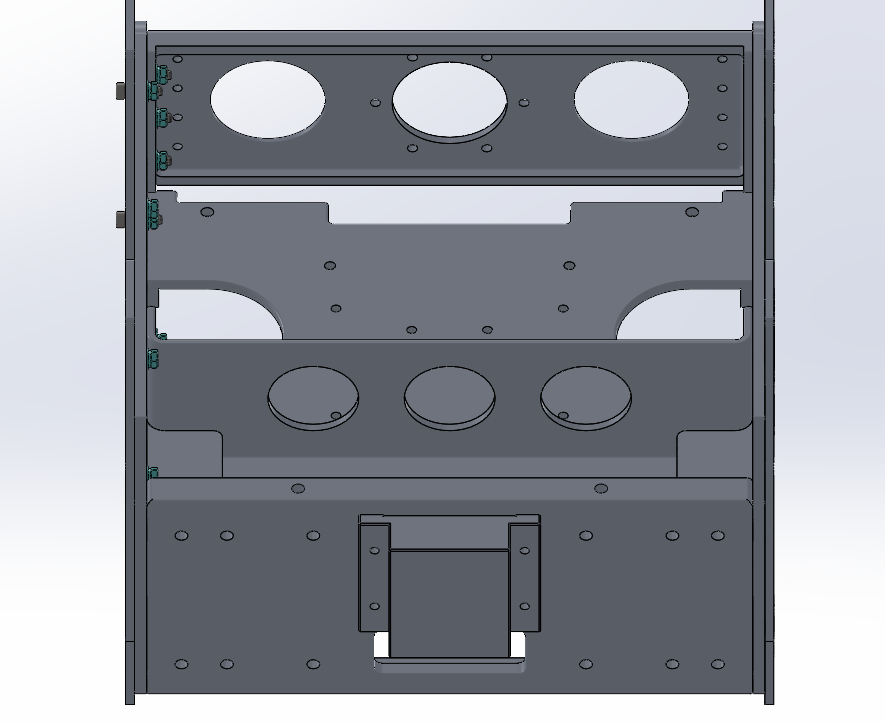
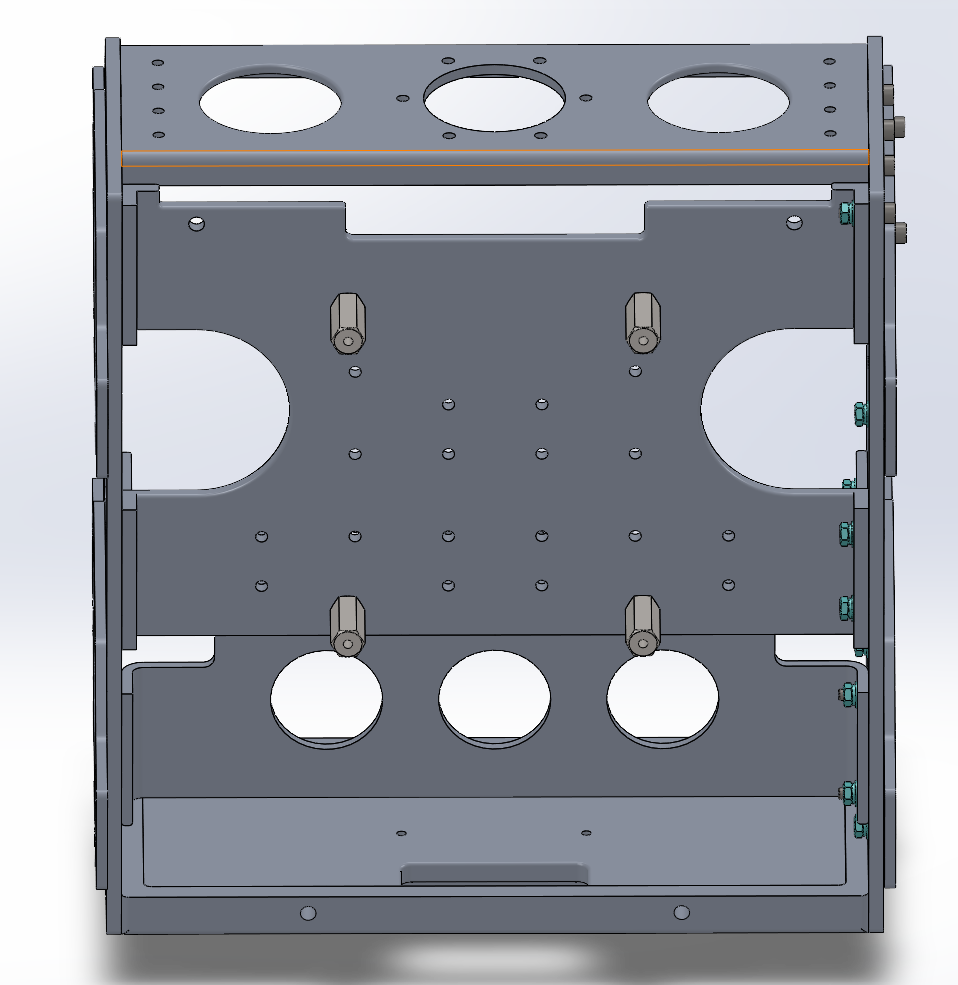
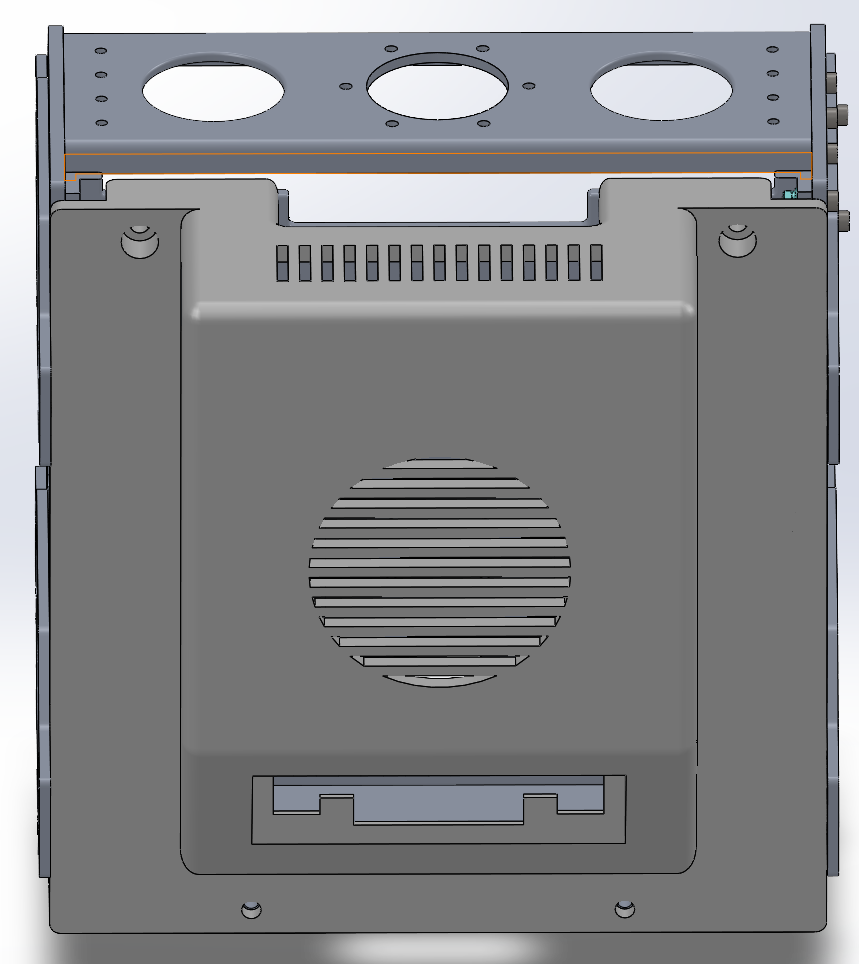
Complete the internal chest wiring first, and then install the rear shell.
Install the joint modules.
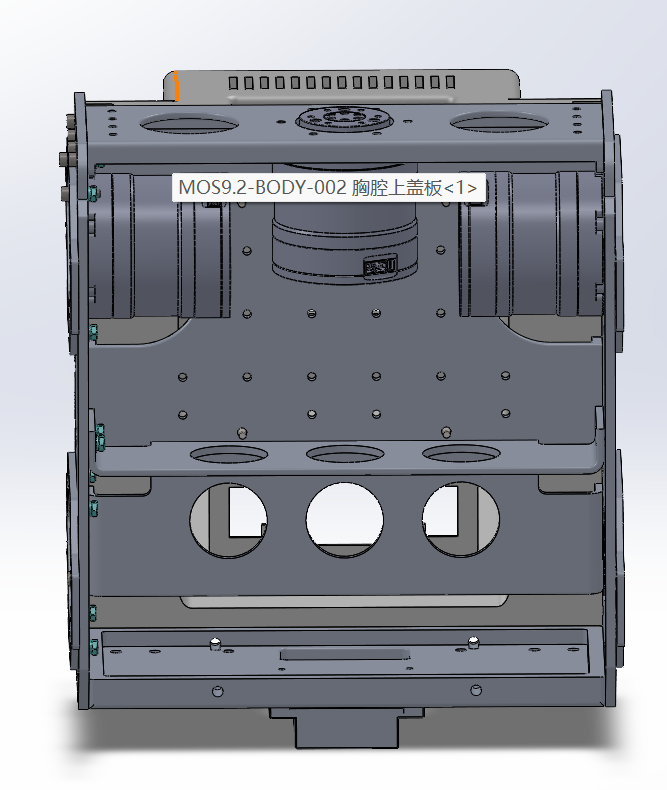
Install the front shell.
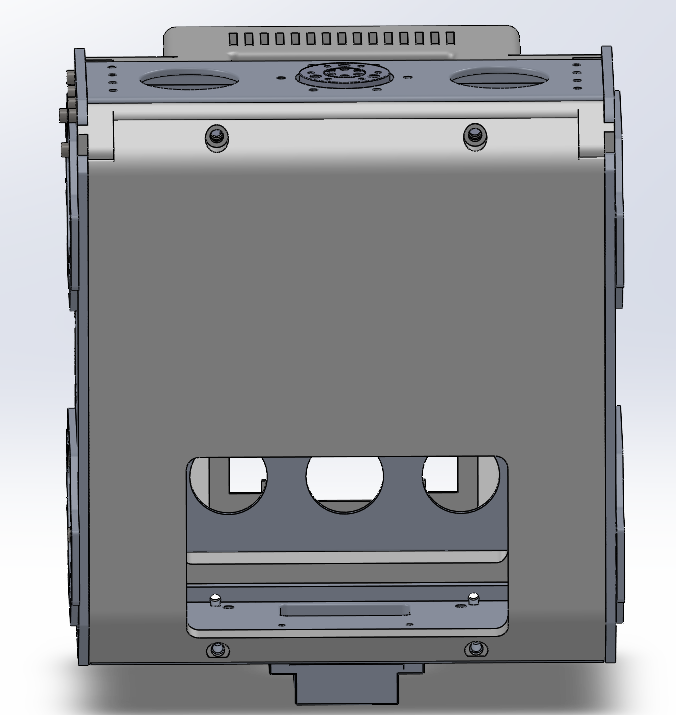
Install the rubber damping blocks.
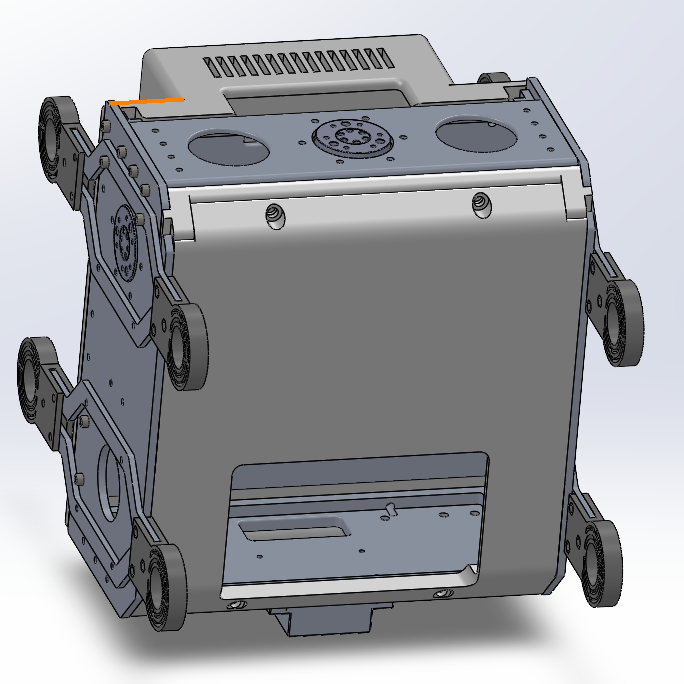
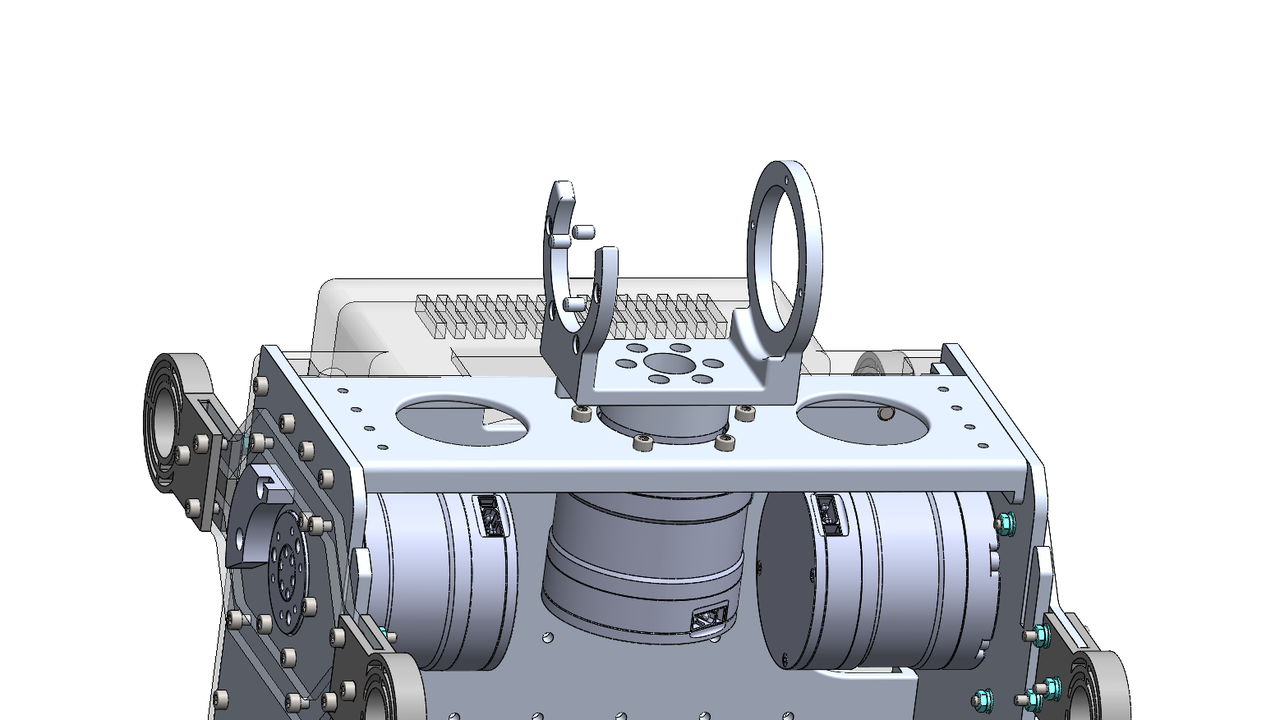
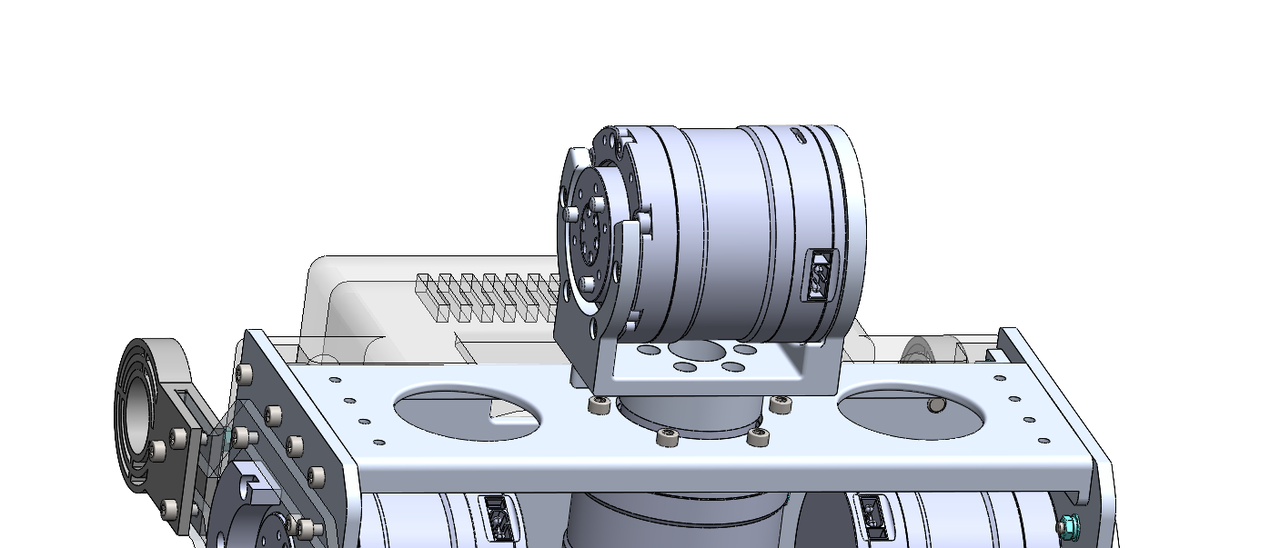
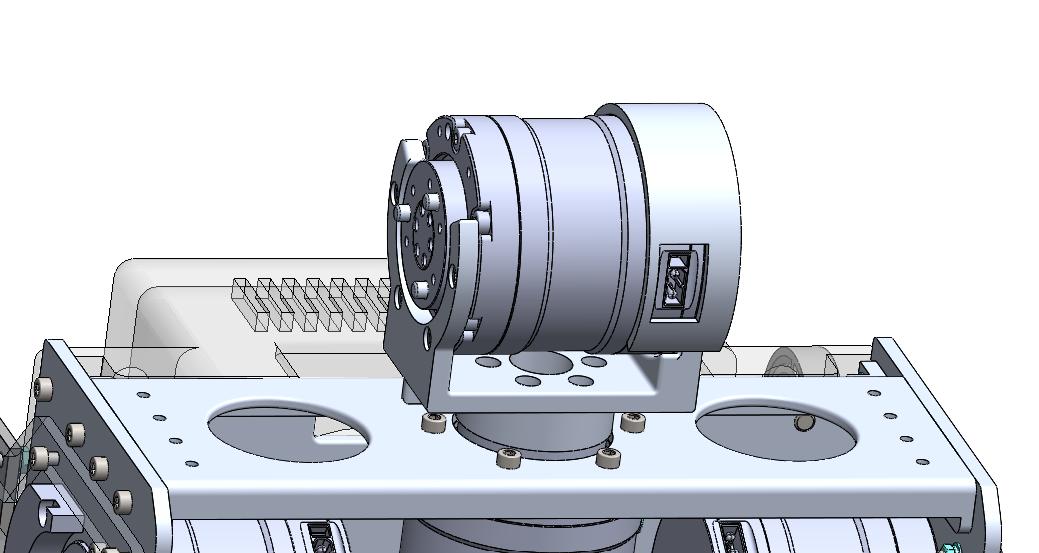
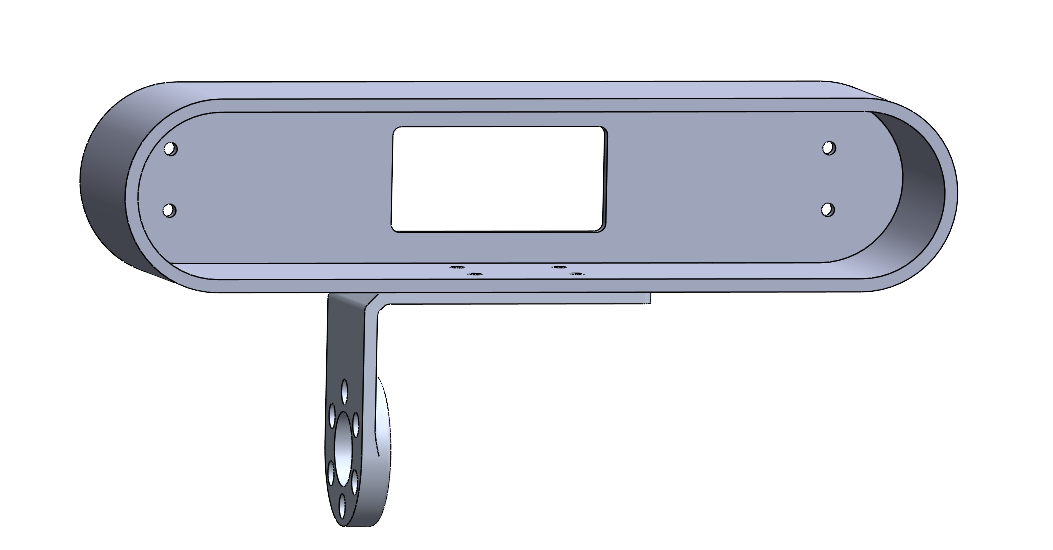
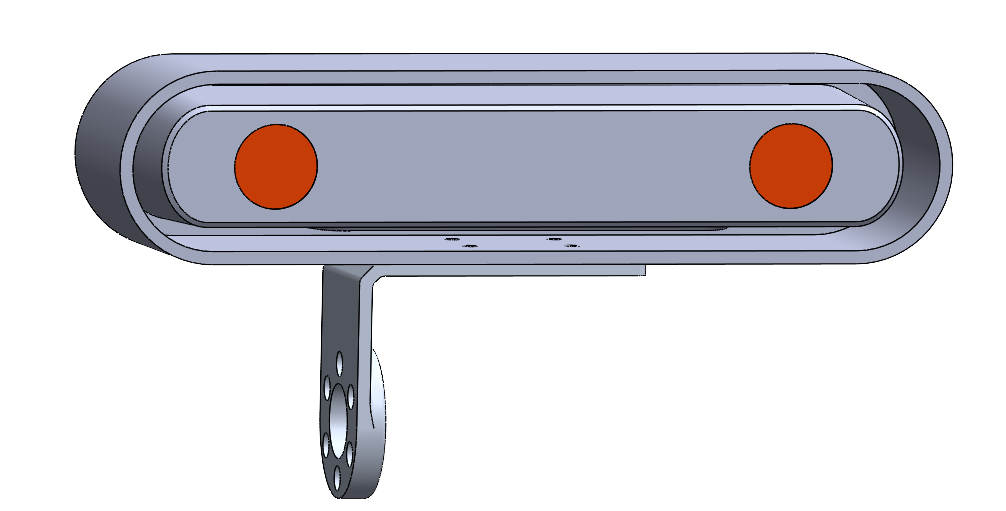
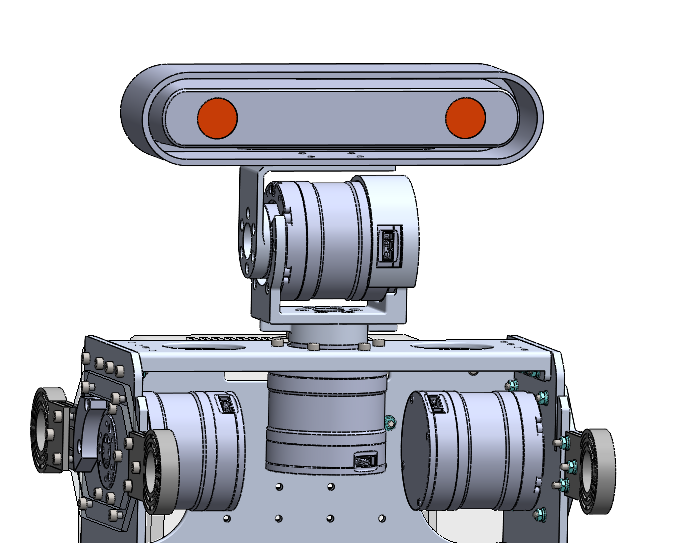
Head Assembly
Install the following parts in sequence.
Arm Assembly
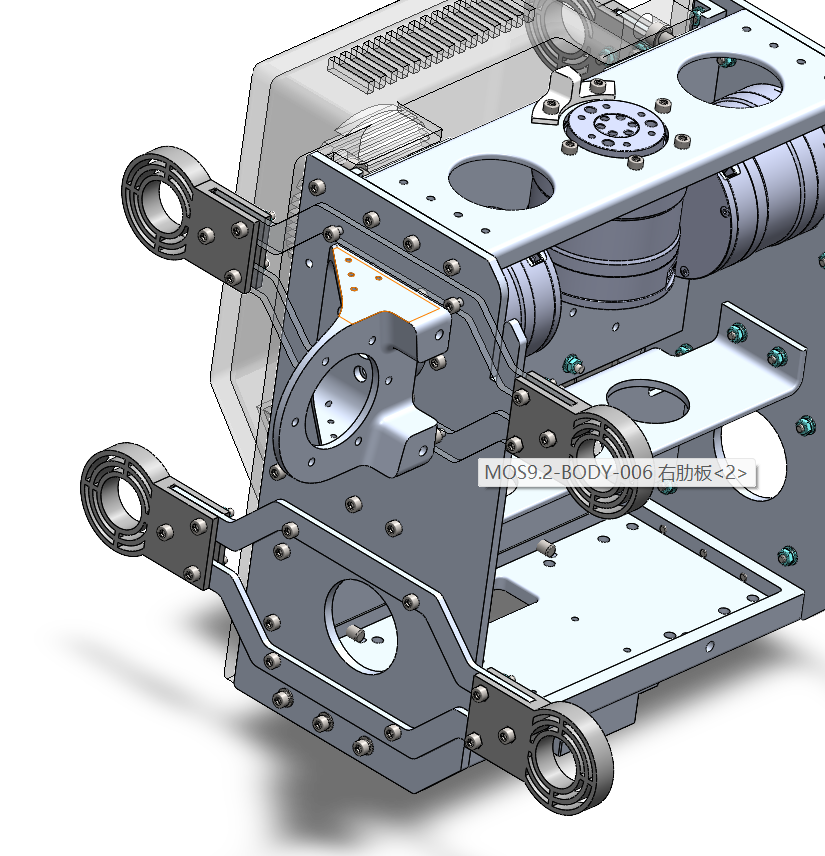
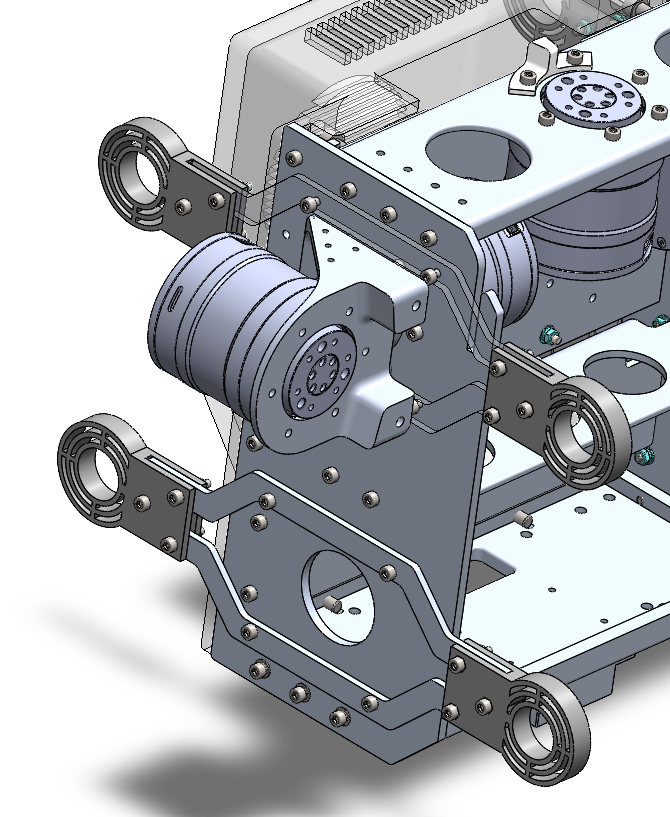
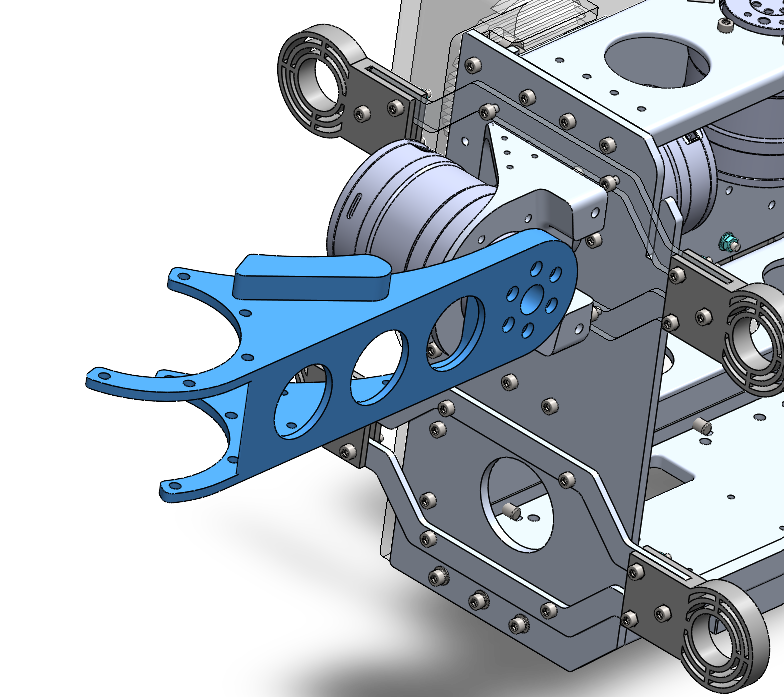
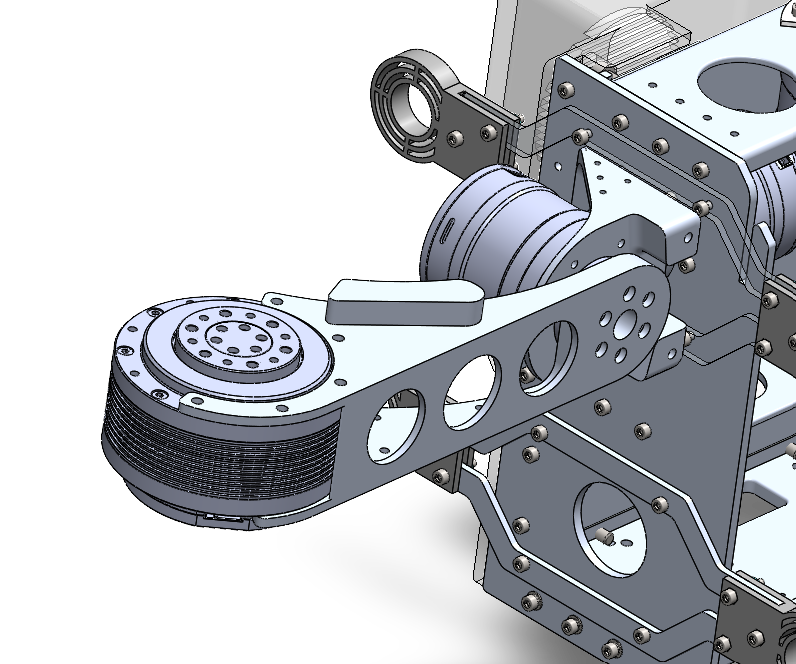
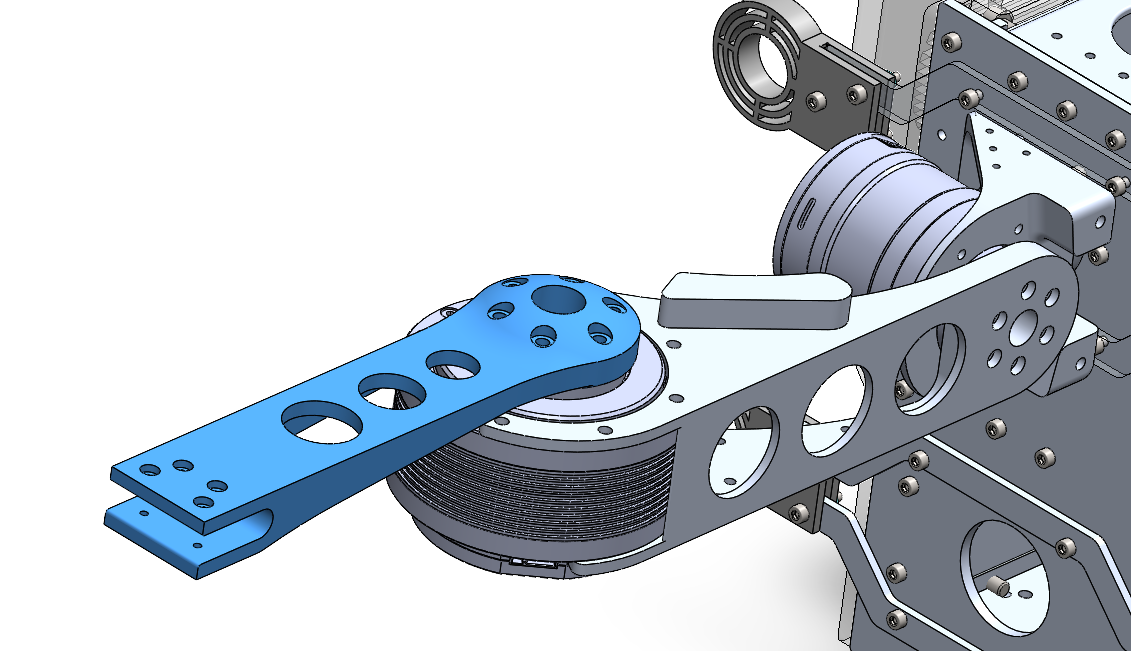
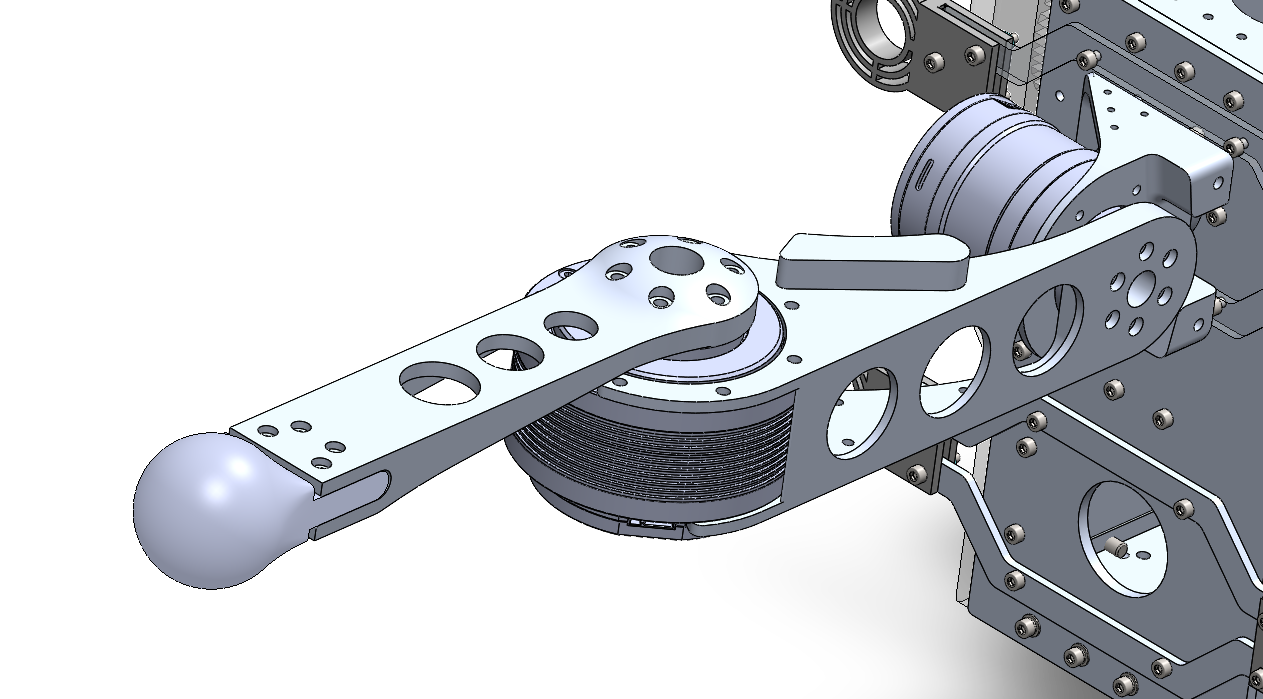
Assemble in the following order.
Leg Assembly
Assemble the hip joint in sequence.
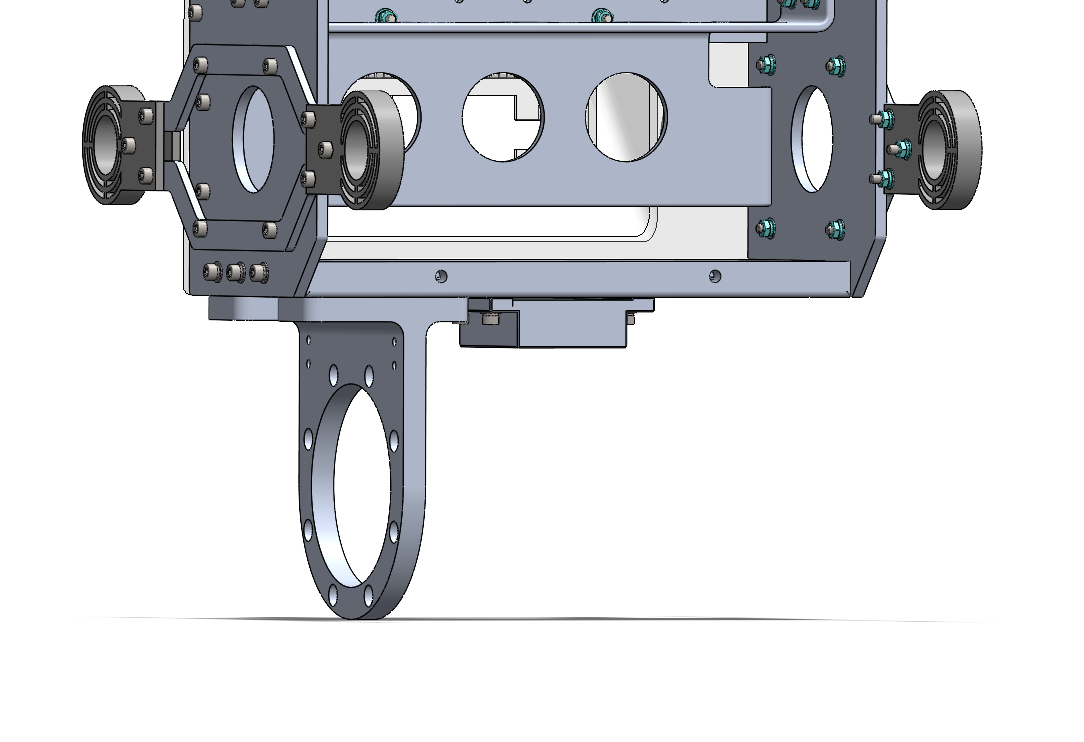
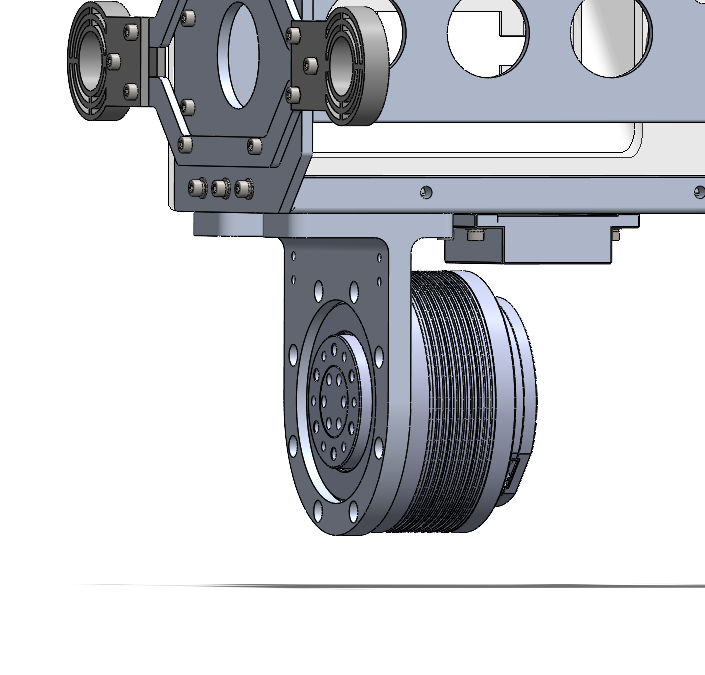
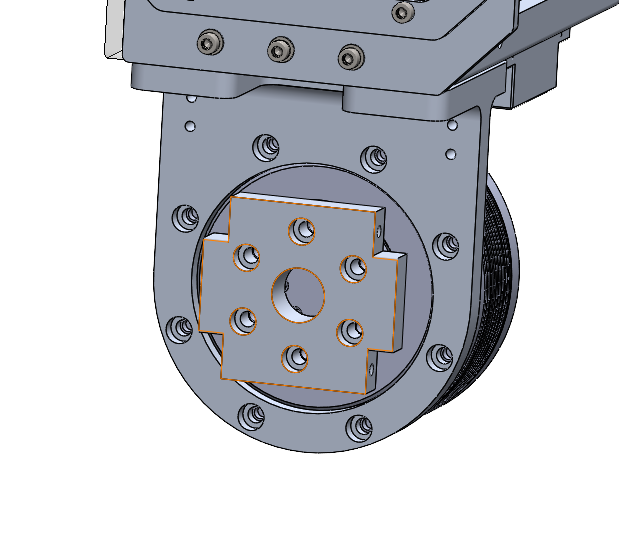
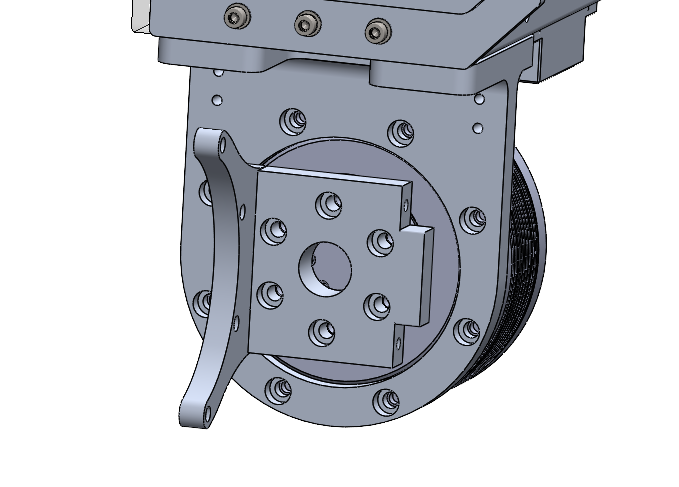
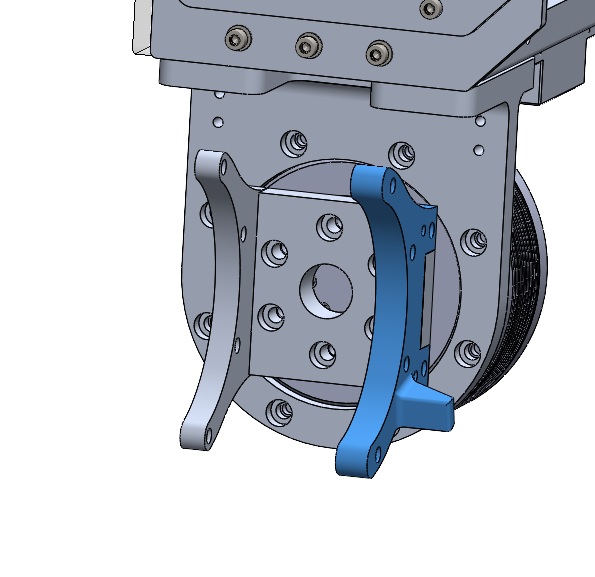
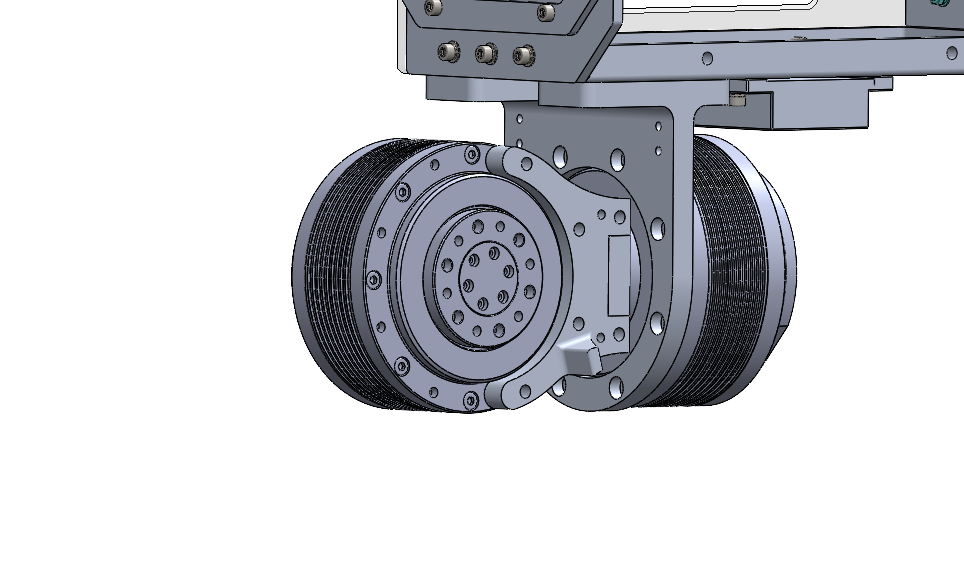
Assemble the thigh first and then mount it onto the body.
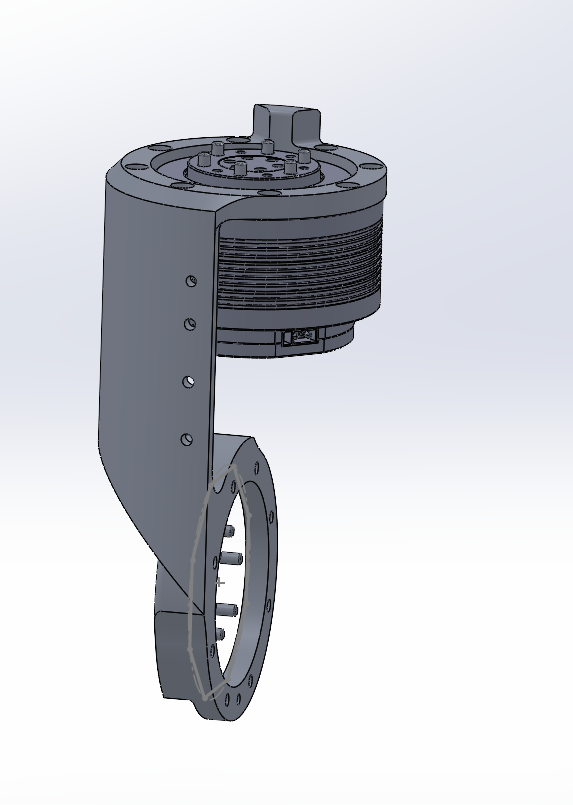
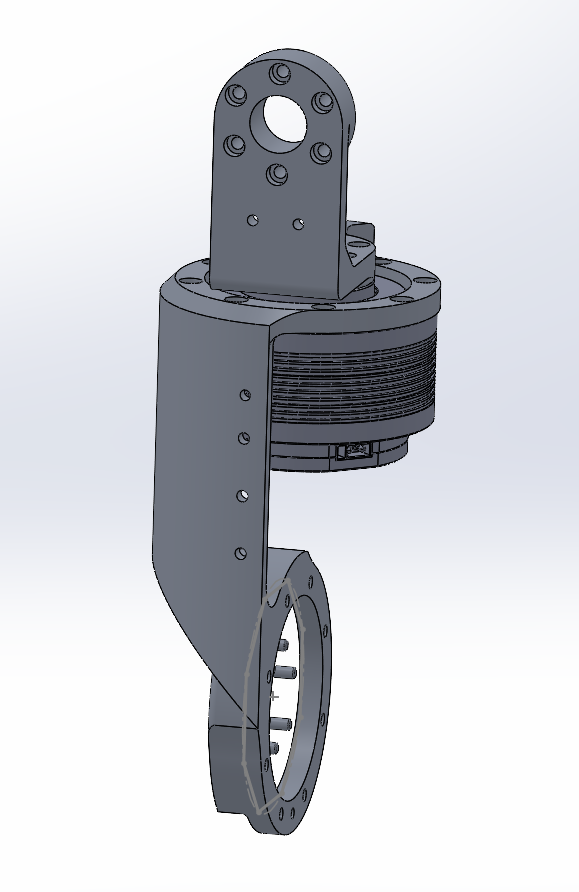
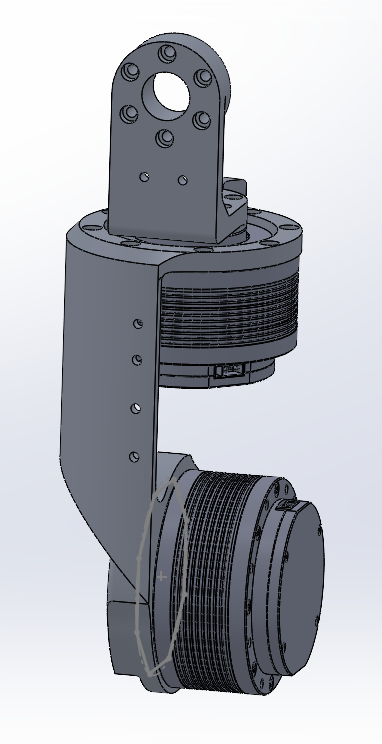
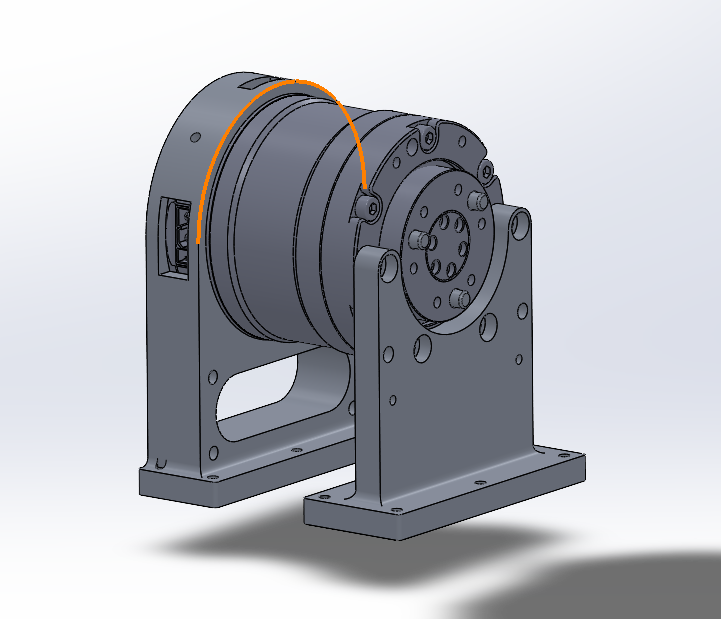
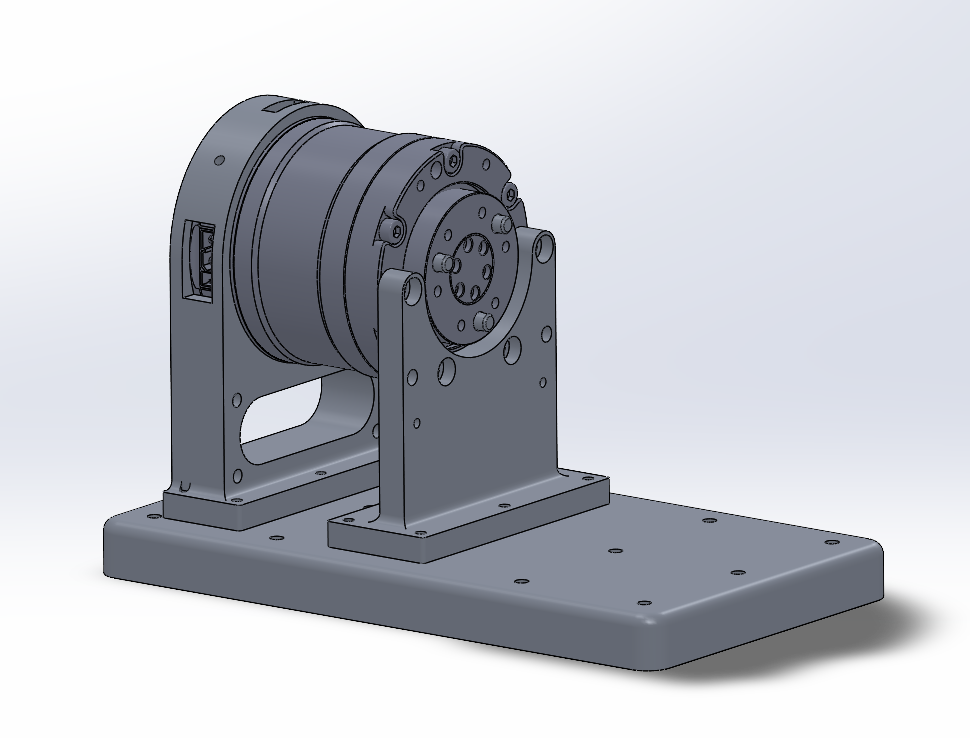
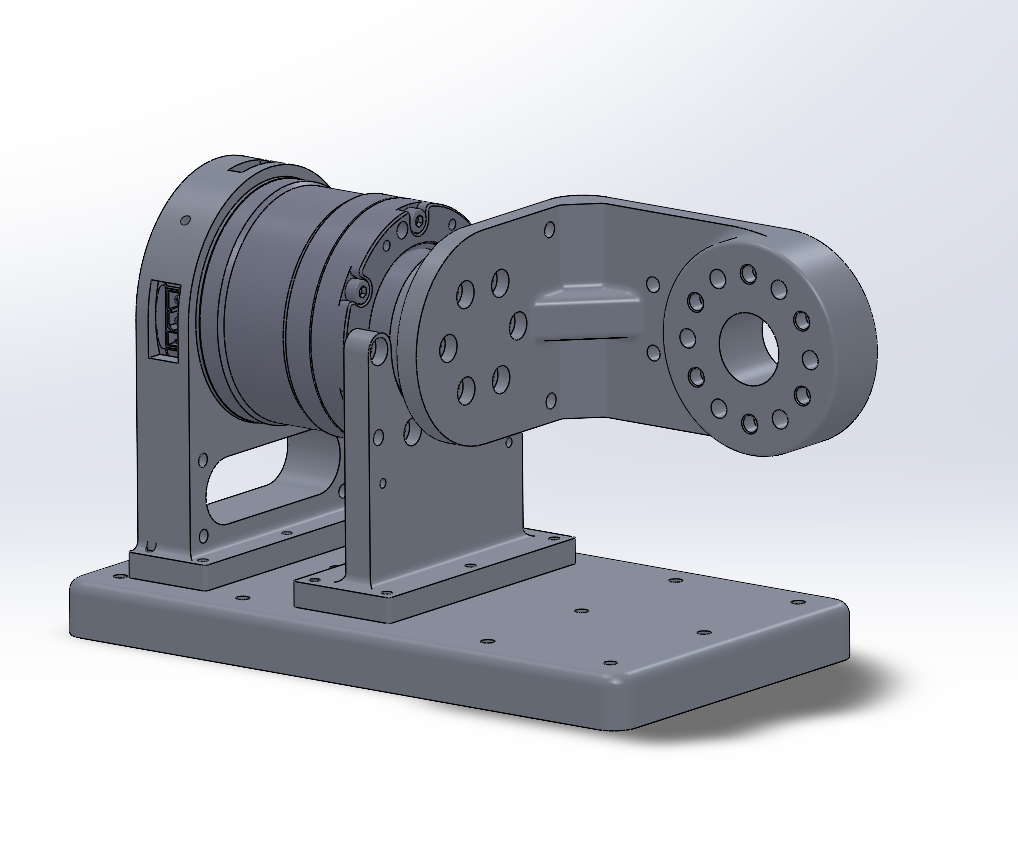
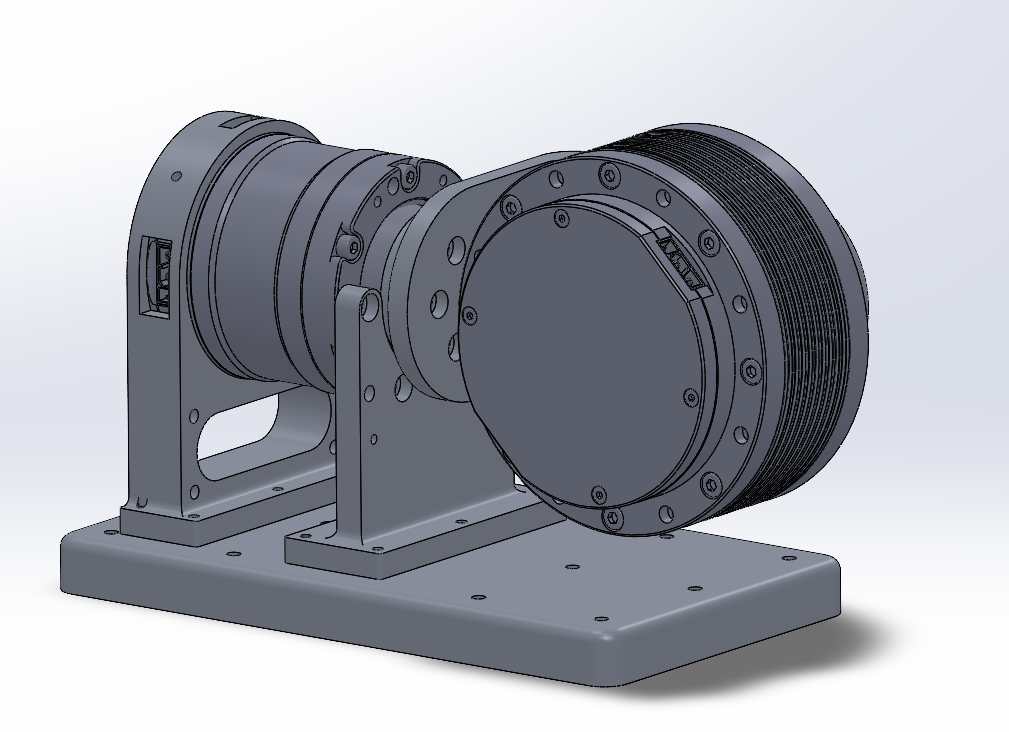
Ankle
Full leg